It's time for another Traktip!
Did you know about the Knowledge Base feature included in your Issuetrak site? Think of it as an empty library, ready to be filled with articles on any topic of your choosing. A well-stocked Knowledge Base is a great asset for any organization, whether you’re looking to provide information directly to your customers (in the form of FAQs or best practices) or you’re interested in housing employee-specific documents and forms in an easy-to-reach place.
We’ll show you exactly how to add articles to your Knowledge Base. Here’s how to get started:
How to Create Knowledge Base Articles
1. Select Knowledge Base in the left menu. In the next screen, select "add" under Articles in the right Quick Menu. (Be aware: your site may use a different label for the Knowledge Base depending on how administrators have configured the site.)
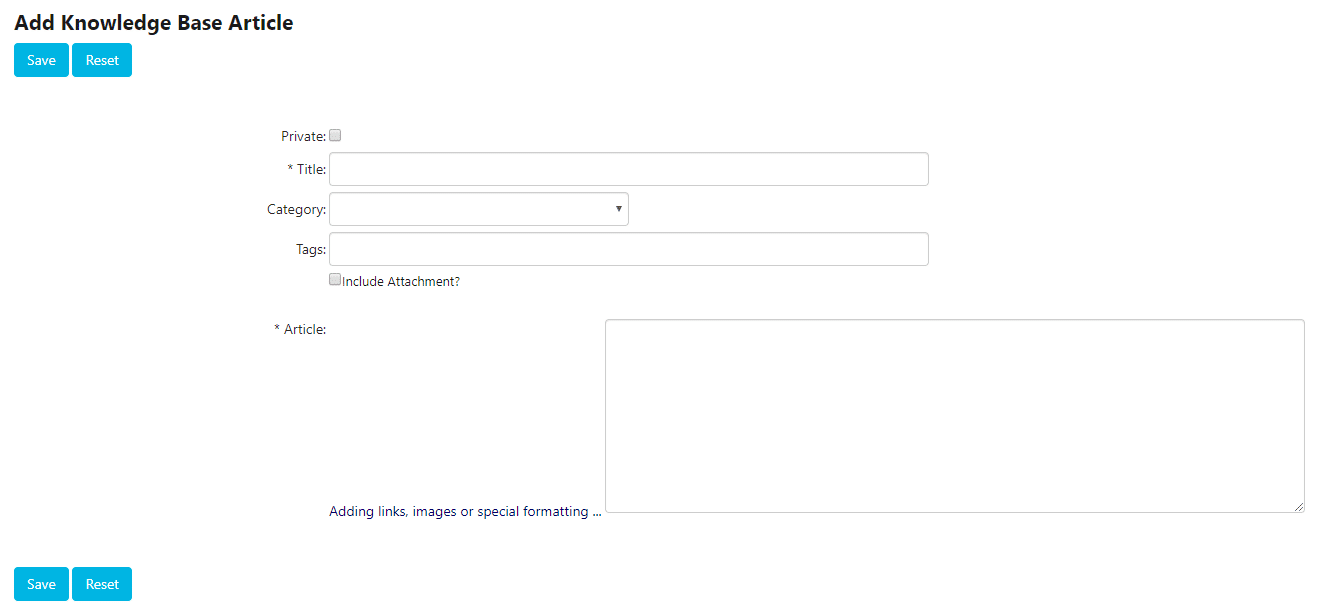
2. (Optional) You may want to limit access of certain Articles to certain users (for example, Articles containing sensitive information that shouldn’t be available to end users).
Checking Private at the top of the “Add Knowledge Base Article” screen will only allow users with the Can view Private Knowledge Base Articles permission.

3. Enter the Article’s Title. (You have a maximum input of 256 characters).

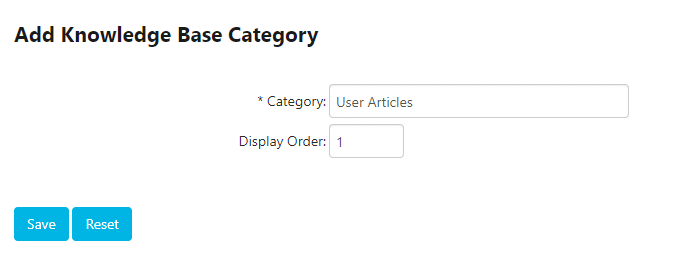
4. (Optional) Select the Article’s Category and Subcategory.
You can add Categories and Subcategories by navigating to the right Quick Menu of the Knowledge Base screen. Enter the title of the Category and click Save. You can also indicate the display order of the categories.
5. (Optional) Enter any Tags (such as identifying keywords or phrases) that might help users locate this Article. (Use a semicolon to separate multiple keywords or phrases.)

6. (Optional) If you need to add Attachments, check Include Attachments. (The upload screen will open once the Article is saved.)
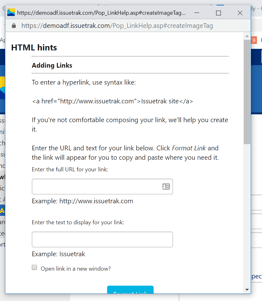
7. Enter the Article’s content into the text box. A link beside the text box will bring up a pop-up box entitled HTML hints, which instructs you on how to include special formatting, links, or images if necessary.
8. Click Save.
A confirmation message will appear when this process is complete, and then your Knowledge Base Article will be available to view within Issuetrak! You can then search for your article under the "Quick Search" tab via its article number or a keyword.
As always, if you have any questions or would like to see this in action via a quick demo, don’t hesitate to contact your Account Manager. We’re happy to help!


Topics from this blog: Traktips
Back