
It’s time for another Traktip!
Have you ever wished you could see an audit log documenting edits made to your Issuetrak system settings? Issuetrak 11.1 brought with it a brand-new feature that can do just that: Admin Auditing.
Admin Auditing provides a look at changes made to the administrative settings within an Issuetrak site. Do you want to see when users add or disable features, change user records, or update group memberships? The Admin Auditing log provides a searchable record of edits made to certain areas of the site. It also allows you to view the list of edits in chronological order or filter by fields such as User ID, Area, or Action Performed. It is an extremely useful tool for maintaining transparency and accountability within your organization.
The Admin Auditing log monitors these areas for changes:
- Features
- Security
- Hours of Operations
- Menu Options
- Mobile Settings
- (Outgoing) Email Settings
- User Defined Fields (UDFs)
- Active Directory Parameters (if present)
- Departments
- Locations
- Organizations
- Users
- Groups
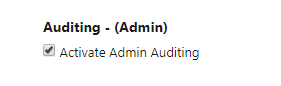
Before you can view the audit log, you will first have to enable Admin Auditing in your Issuetrak site.
Enabling Admin Auditing
1. Click the gear icon in the upper right-hand corner of your site.
2. Select Admin Auditing from the settings lightbox under the Tools section.
3. Click the checkbox next to Activate Admin Auditing. You'll be prompted to enter your password.
4. Once Admin Auditing is activated, click Update to refresh the page.
Navigating the Admin Audit Search
Repeat the first two steps from above. Here you can see the audit records for each administrative change that has been made within your Issuetrak site. The search feature lives in the upper left-hand corner of this page.
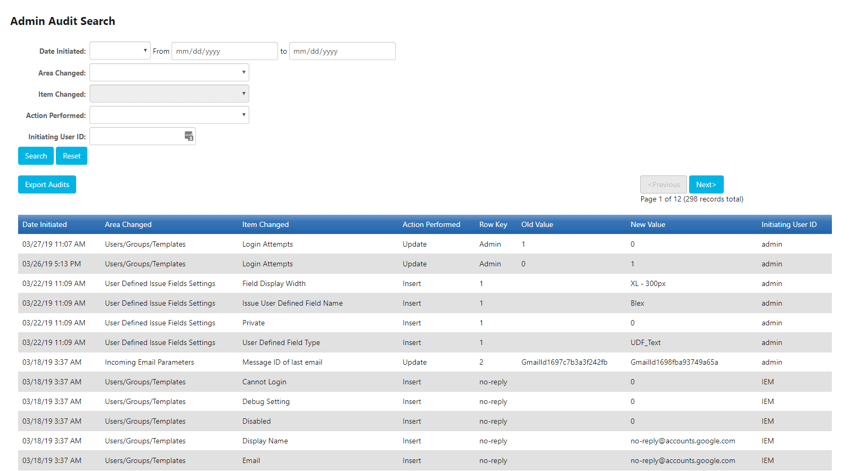
Much of the audit log is intuitive. For example, let's look at the entry that appears when turning Admin Auditing on:
![]()
Here we see, from left to right:
- The date the change occurred
- The location within Issuetrak where the change occurred
- The item that was changed
- The action that was performed
- The "Row Key" (a reference to record labels in the Issuetrak database)
- The past item value
- The new item value
- The ID of the user who performed the action
This is a straightforward example. However, there are some elements of the audit log that may require greater explanation, such as the New and Old Value fields. Our Help Center page provides a more detailed look at how you can translate these values to useful information.
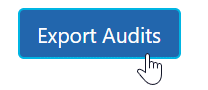
Exporting Admin Audits
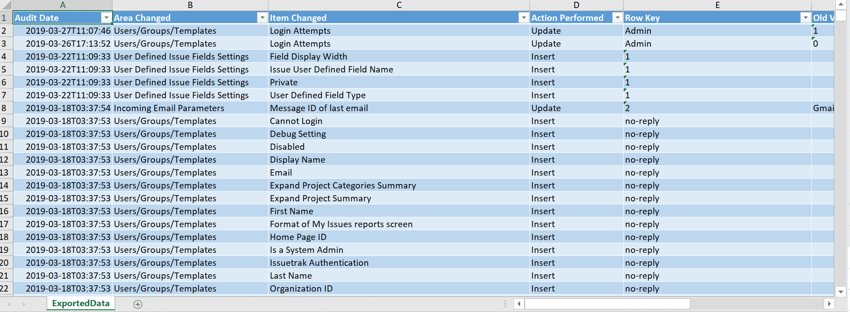
You can easily export admin auditing logs into an Excel spreadsheet, allowing you to use the data in other mediums such as custom reports. Simply click the Export Audits button under the search feature on the Admin Auditing page and you will download an Excel sheet.
If you only want to download certain data (rather than the entire audit record), be sure to filter your results using the search feature before clicking the export button. The Excel sheet will already be formatted upon download.
These are the basics of getting started with Admin Auditing! As always, if you have any questions about Admin Auditing or would like to see this in action via a quick demo, don’t hesitate to contact your Account Manager. We’re happy to help!
Topics from this blog: Traktips
Back