
Regardless of what industry you work for, your team may benefit from using Service Level Agreements (SLAs). A Service Level Agreement is a commitment made to your customers (internal or external) to provide service of a certain caliber every time.
Service Level Agreements can be created with an optional feature in Issuetrak. This feature helps your team stay compliant with the SLAs you’ve committed to as an organization.
In this Traktip, we’ll walk you through the basics of how to turn SLAs on in Issuetrak and provide the general process for creating them. For a more in-depth look at developing SLAs for your team, please visit our Help Center.
Turning on SLAs in Issuetrak
Before you can begin creating your SLAs, you must make sure the feature is turned on in your site’s Administrative settings.
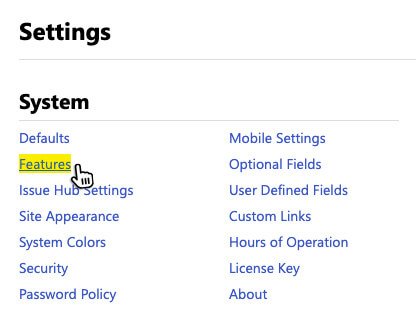
1. Go to the gear icon in the upper right-hand corner of your Issuetrak site.
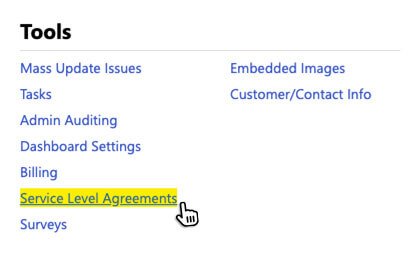
2. Select Service Level Agreements under the Tools section of the settings lightbox. If this is enabled, navigate to Features under the System section of the lightbox.
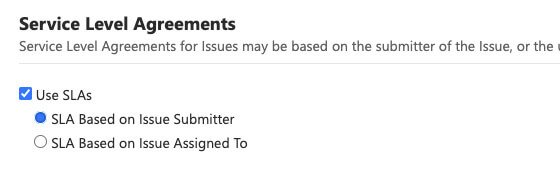
2. On the Features page, scroll down to the Service Level Agreements section and determine whether you want your SLAs applied based on the Issue Submitter value or the Issue Assigned To value. Click Update.
3. The Service Level Agreements link in the Settings Menu is now active.
Now you can begin building your SLAs in Issuetrak! Building SLAs involves creating three separate parts: the Severity, the Service Level, and the Agreement.
Determining Severities
The next step is adding Severities to match your team’s needs. Severities are ratings that describe an issue’s impact to the organization -- their labels can be generic (Severity 1, Severity 2) or more descriptive (Major, Critical, etc.). Severities also need a description.
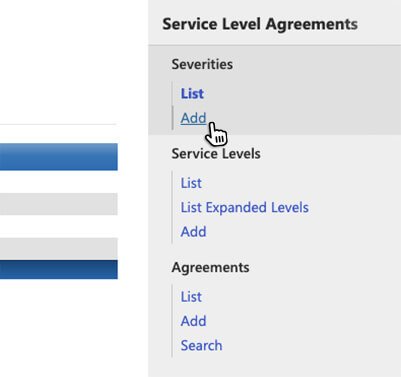
1. Navigate to the newly active Service Level Agreements page via the Settings menu. Focusing on the right-hand Quick Menu, click "Add" underneath the Severities section.
2. Title your Severity (examples may include Low, Medium, High, Critical, etc.)
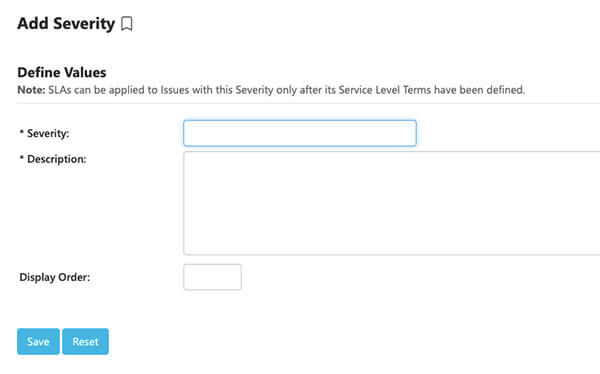
3. Describe the Severity. Then click Save to record the information and see a list of your existing Severity levels.
Adding Service Levels and Editing Terms
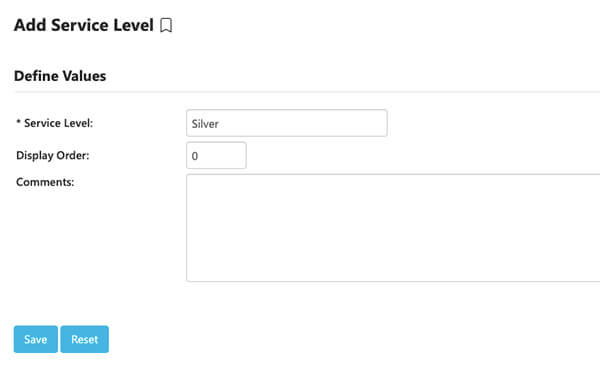
A “Service Level” within Issuetrak is a set of terms defining applicable days and times, responses, and resolution times for each particular Severity. You can define these terms however you’d like.
1. From the Service Level Agreements Quick Menu, click "Add" underneath the Service Levels section.
2. Title your Service Level and click Save to confirm.
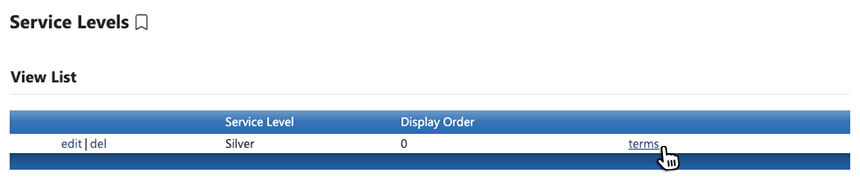
3. Click Terms on the Service Levels List page.
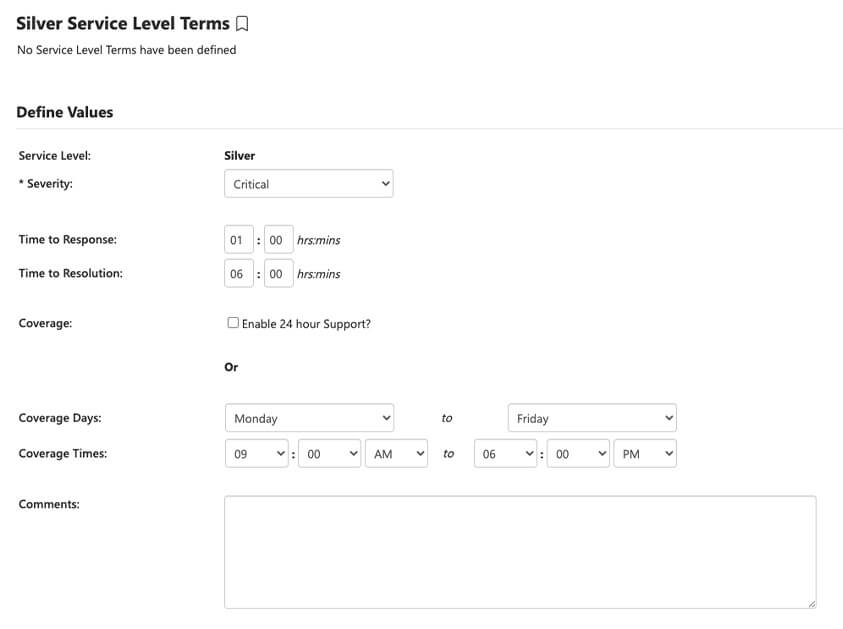
4. Match your Service Level to a Severity.
5. Update the terms to meet your team’s needs. You can update response time, coverages, coverage times, and add comments. You can set different terms for each severity.
Adding Agreements
Finally, you can add an Agreement. This determines which Service Level and default Severity is applied to the issue.
1. Again, using the right-hand Quick Menu, click Add underneath the Agreements section.
2. Select whether to deploy the SLA by Organization, Group membership, or Asset. This is how Issuetrak will know which issues the SLA applies to. Only one SLA can be applied to each Organization, Group, or Asset.
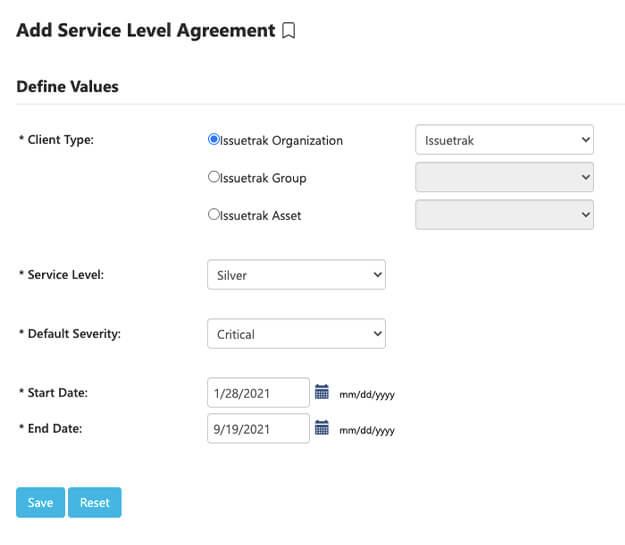
3. Select a Service Level and a default Severity to apply to the issues.
4. Choose a start date and an end date for the agreement.
5. Submit your Agreement.
Summary
Now you’ve made your first Service Level Agreement! How does this affect your Issuetrak site?
On the Issuetrak Dashboard, you’ll now have the option to see Open Issues by Severity and Issues by Compliance Status. SLA compliance also appears under the Current Quarter Performance section of the Dashboard. This allows you to monitor your team’s compliance statistics and ensure they’re meeting the mark.
SLA statistics can also be viewed in Summary Reports (SLA Issues by Service Level) and within the Report Writer.
And there you have it: the basics of setting up and using SLAs within Issuetrak! For more information and advice on how to configure this feature, contact your account manager or review the content in our Help Center. If you're not yet an Issuetrak customer, please contact our Product Experts!

Topics from this blog: Traktips
Back