It’s time for another Traktip! Please note: this blog refers to Issuetrak version 10.0 which was released in 2017. Please visit our Product Documentation for information on our most recent releases.
With the release of Issuetrak 10.0, the Rich Text Editor was completely revamped to become more user-friendly and offer better handling of tables and HTML.
When enabled, you can set default fonts and sizes to be used system-wide within your issue notes and descriptions. On each individual note, you can add HTML links, tables, or make your notes in bold red fonts if necessary.
To enable the new Rich Text Editor:
- Click the gear in the upper right-hand corner of your screen to access the settings lightbox menu
- Select "Defaults" under the System category
- In the Note Default section, check the box next to “Use Rich Text Editing”
- Select your default font family and default font size
- Click Update
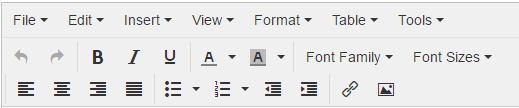
If you already had rich text enabled, when you upgrade, the new editor will automatically be replaced. Going forward, when submitting, editing, or closing issues, your notes and description will have the following menu in the note box:
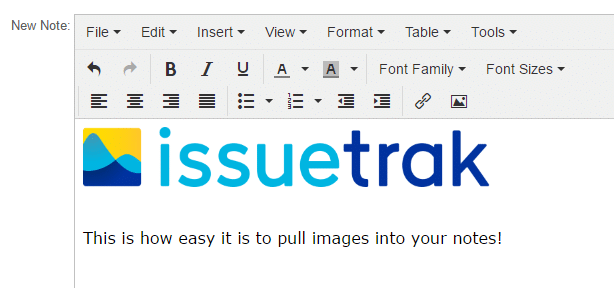
Drag and Drop Images
Do you have a screenshot or other image you need to include in the issue? Previously you had to upload it using the embed link within the Rich Text Editor or attach it like a regular attachment. With the Rich Text Editor, you can simply drag your image into a note or the issue description. Once there, you can resize or move it around as needed. In this example, I’ve pulled the Issuetrak logo into a new note.
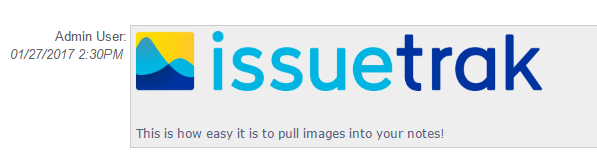
Once you save your note, the image will display with any note text you added.
As always, if you have any questions or would like to see this in action via a quick demo, we're happy to help!


Topics from this blog: Traktips
Back